A Simple Guide: delete esim iphone on iPhone
Before you jump into the settings, let’s talk about why you’d want to delete an eSIM in the first place. This isn’t just about tidying up your iPhone; knowing when to remove a digital SIM can save you from connectivity headaches, declutter your plans, and get your phone ready for its next adventure—or its next owner.
Why and When to Delete an eSIM on Your iPhone
Deleting an eSIM isn’t just a technical step; it’s a practical move you’ll need to make in a few common situations. For frequent travelers, it’s all about organization. Remember that data-only eSIM from your trip to Italy last summer? If it's expired, getting rid of it cleans up your cellular settings. This makes it way easier to manage your active plans and stops you from accidentally trying to switch to a dead one.
The same goes for when you're backpacking through Asia and need to add a new local plan. Deleting an old, unused one can free up space and, more importantly, prevent confusion. Most modern iPhones can store eight or more eSIMs, but you can only have two active at once. Keeping your list trim means you can flip between the plans you actually need without scrolling through a graveyard of expired ones. Not sure if your phone is on the list? Check out our guide on which phones support eSIM technology.
Troubleshooting and Device Management
Travel aside, troubleshooting is another big reason you might delete an eSIM. Picture this: you just landed in Tokyo, ready to explore, but your travel eSIM refuses to connect. Sometimes, the problem is a conflict with another plan. In these moments, deleting and reinstalling the eSIM is often the quickest fix. This has become a must-know trick, especially since the iPhone 14 lineup launched in the US as eSIM-only, forcing millions of users to get comfortable managing their plans digitally.
Key Takeaway: Deleting an eSIM is permanent—it completely removes the profile from your device. While it doesn't cancel your service plan with the carrier, you will need a new eSIM profile from them if you want to use that line on your phone again.
Finally, getting your iPhone ready to sell or give away is a critical time to clear things out. Just like you’d sign out of your Apple ID, you absolutely must delete all eSIM profiles. This protects your personal information and ensures the new owner can set up their own service without hitting any roadblocks.
How to Remove an eSIM From Your iPhone
Getting rid of an old or unused eSIM from your iPhone is pretty simple, but there's one critical thing to remember: deleting it is permanent. Once it's gone, it's gone for good. You can't just pull it back from a backup; you'll need a brand-new QR code from your provider to get it working again.
Think of this as the final step after a trip abroad or the last thing you do to wipe your personal data before selling your phone.
Before you jump in, it's a good idea to run through a quick mental checklist. Deleting an eSIM is permanent, so a moment of preparation can save you a headache later.
Quick Checklist Before Deleting Your eSIM
| Check Item | Why It Matters | What to Do |
|---|---|---|
| Verify It's the Right eSIM | iPhones can hold multiple eSIMs, and it's easy to delete the wrong one by mistake. | Go into your Cellular settings and double-check the label or phone number of the eSIM you intend to remove. |
| Confirm You No Longer Need the Plan | Once deleted, the eSIM profile cannot be recovered. You'll need a new QR code to reactivate. | If it's a travel eSIM, make sure your trip is truly over. If it's a primary line, be certain you have a replacement ready. |
| Cancel the Service (If Necessary) | Deleting the eSIM from your phone does not cancel your billing plan with the carrier. | If it's a monthly subscription, contact your provider to terminate the service to avoid future charges. |
| Backup Important Contacts | If any contacts are specifically saved to that SIM profile (less common with eSIMs but possible), ensure they are backed up. | Sync your contacts with iCloud or another cloud service to be safe. |
This checklist helps ensure you're only removing what you intend to and that no loose ends are left behind.
Finding and Removing the eSIM Profile
First things first, open the Settings app. From there, you'll need to find your cellular plans. This menu is usually labeled Cellular or Mobile Data, depending on where you are in the world. Tap it, and you'll see every SIM and eSIM currently on your device.
If you're like me and have multiple plans—maybe your primary line plus a travel eSIM—they'll all be listed here. This is where labeling your plans comes in handy. I always name my travel eSIMs something obvious like "Spain Trip" or "Japan Data" to avoid any mix-ups. If you haven't, take a second to identify the right one by its name or the phone number attached to it.
Once you’ve zeroed in on the plan you want to remove, tap on it. This brings you to a screen with all the details for that line. Just scroll down to the bottom, and you'll see the option you're looking for in red text: Remove Cellular Plan or Delete eSIM. The exact wording changes a bit between iOS versions, but it does the same thing.
Why would you do this? The reasons usually boil down to a few common scenarios.
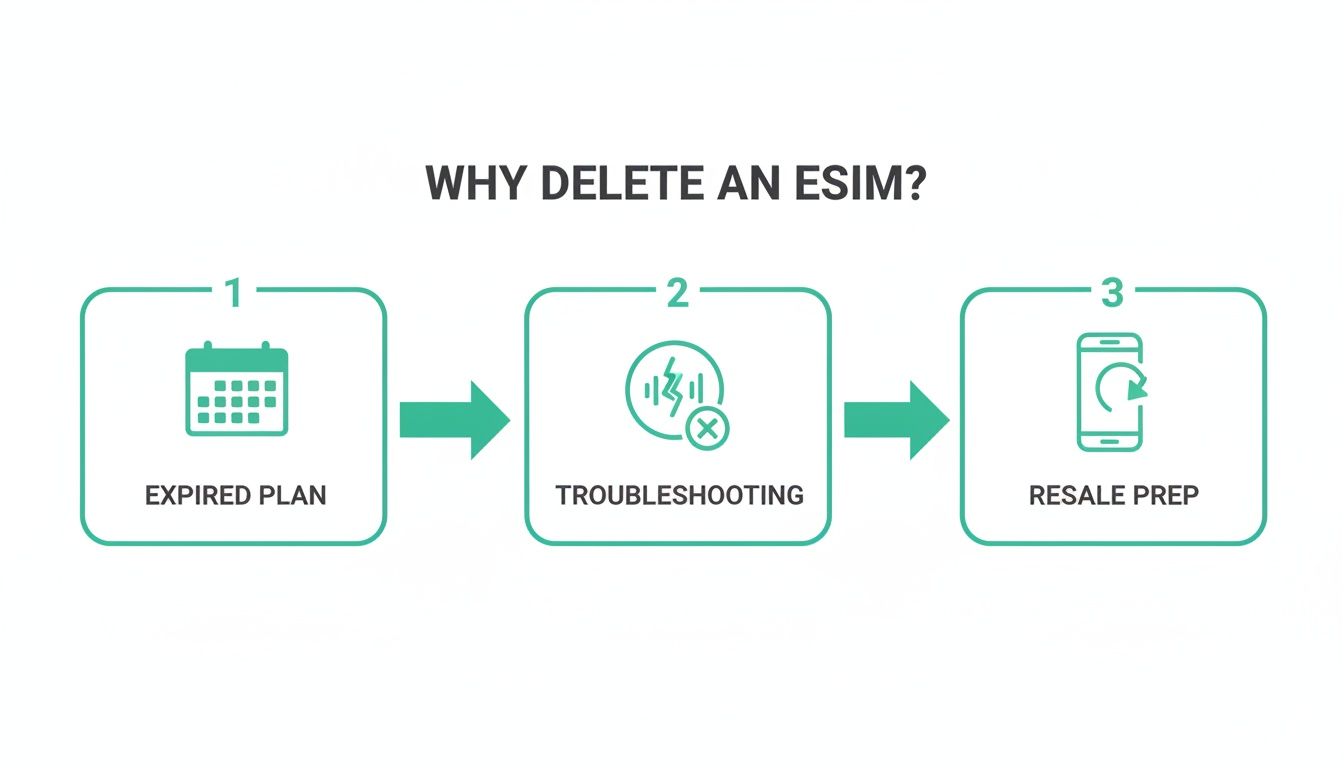
As you can see, most deletions are for practical reasons—the plan's expired, you're trying to fix a connectivity bug, or you're getting the phone ready for a new owner.
After you tap that red button, your iPhone will give you one last "Are you sure?" prompt. This is your final chance to back out.
Heads Up: Tapping "delete" on your iPhone does not cancel your service plan with the carrier. If you're on a contract, you're still on the hook for the bill. You have to call your provider to actually terminate the service itself.
Once you confirm, the eSIM profile is wiped from your device, freeing up that slot for your next adventure. For a deeper look at what your device can do, you can learn more about Apple's eSIM support in our full guide.
How to Juggle Multiple eSIMs When You Travel
For frequent flyers, managing a collection of eSIMs is just part of the routine. Your iPhone can hold eight or more eSIMs at once, letting you hop between countries and plans without ever fumbling with a tiny piece of plastic. But with all that digital power comes the need for a little organization.
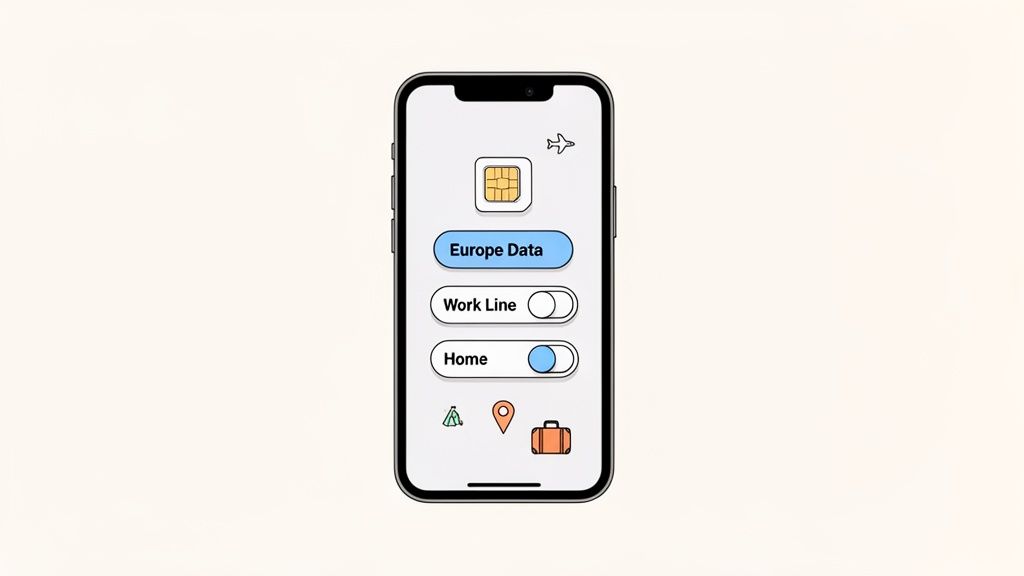
The single best habit you can build is to label your eSIMs the moment you install them. Don't leave them with a generic carrier name. Rename them to something you’ll actually recognize, like “Europe Data” or “Work Line.” This simple step has saved me countless times from accidentally deleting the wrong plan or activating a pricey one right after landing.
Turn Off vs. Delete an eSIM: What’s the Difference?
Knowing when to simply deactivate an eSIM versus deleting it for good is key to saving money and avoiding headaches on the road.
- Turning an eSIM off is like putting it in sleep mode. It's temporary. You might do this with your home plan to dodge roaming charges abroad, but you want it ready for action the second you get back. The profile stays on your phone, just dormant.
- Deleting an eSIM is permanent. This action completely removes the profile from your device. It’s the right move for single-use travel plans that have already expired, as it frees up space and keeps your settings tidy.
Traveler's Tip: Before a big multi-country trip, I always load up all the eSIMs I’ll need ahead of time. As I move from one country to the next, I just turn off the old one and switch on the new one. This strategy is at the heart of using an eSIM for international travel.
This kind of proactive management isn't just a neat trick; it’s become a practical necessity as eSIMs have gone mainstream. For instance, in the first half of 2025 alone, over 60 new eSIM-enabled smartphones hit the market globally, building on 2024's 23% penetration rate. Keeping your eSIM list clean and organized ensures your iPhone runs smoothly and prevents any potential lag from a backlog of old, unused plans.
By smartly labeling, deactivating, and deleting your eSIMs, you can bounce between destinations with seamless, affordable connectivity every time.
Troubleshooting Common eSIM Deletion Issues
Even a simple process like deleting an eSIM can hit a snag. It happens. Technology isn't always perfect, but most of these little glitches have an easy fix that'll save you a call to customer support. Let's walk through the most common problems I've seen and how to sort them out.
Sometimes you'll find the "Remove Cellular Plan" button is grayed out and you just can't tap it. This is almost always caused by a restriction, either from a corporate management profile on a work phone or a setting you might have enabled yourself. Take a look under Settings > General > VPN & Device Management to see if a profile is locking down your cellular settings.
Common Fixes for Deletion Problems
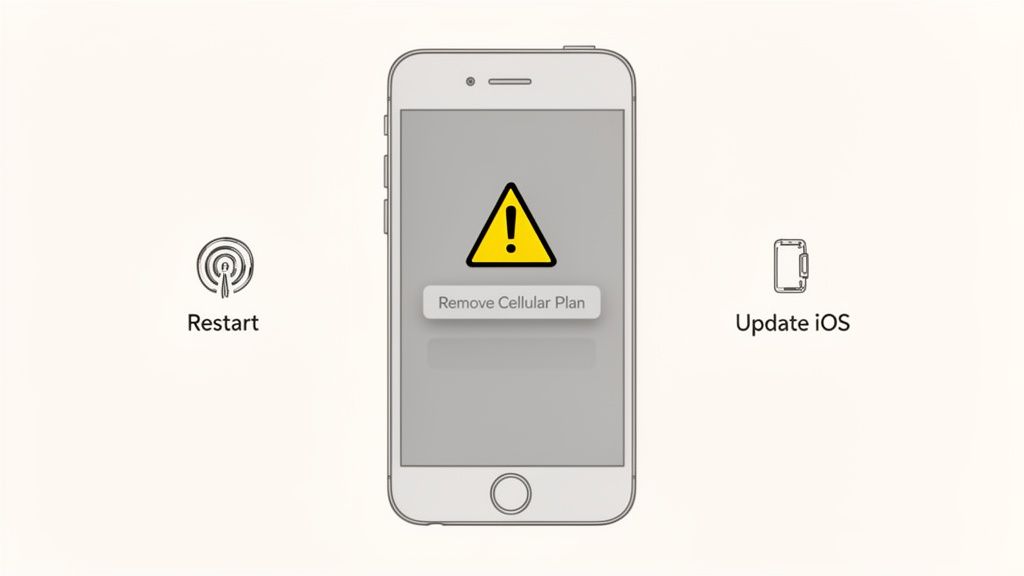
If you get an error message or, even more confusingly, the eSIM reappears after you thought you deleted it, don't panic. These are usually temporary software hiccups. Before you do anything else, try these reliable first steps:
- Restart Your iPhone: It's the classic for a reason. Turning your phone off and on again clears out temporary files and solves a surprising number of weird software issues.
- Check for an iOS Update: An outdated operating system can lead to all sorts of unexpected bugs. It’s always worth checking Settings > General > Software Update to make sure you're on the latest version.
- Toggle Airplane Mode: Flick Airplane Mode on for about 30 seconds, then turn it off again. This forces your iPhone to completely reset its connection to the cellular networks and can often clear whatever was stuck.
A Quick But Important Note: Just to be clear, turning an eSIM off isn't the same as deleting it. When you deactivate an eSIM in your settings, you're just putting it on pause—the profile is still saved on your device. Deleting it is permanent and completely removes the profile. If you delete it, you'll need a new QR code from your provider to get it back.
If none of these tricks do the job, the issue might be on the carrier's side. At that point, your best bet is to get in touch with their support team.
When You Need to Call Your Carrier First
Deleting a temporary travel eSIM is no big deal—it's a simple cleanup you can do yourself in seconds. But when it comes to your primary cellular plan, the one connected to your actual phone number, you need to hit the brakes before tapping that delete button.
Some situations absolutely require a call to your carrier. Jumping the gun and deleting the eSIM on your old phone before your provider is ready, for instance, can leave you in a lurch without service and make activating your new device a huge pain.
The same goes if your eSIM is tied to a device payment plan. Wiping it out could violate your agreement or just create a messy activation problem down the line. It's always better to check first.
Key Takeaway: Deleting your primary eSIM from your iPhone does not cancel your service plan. You'll keep getting billed until you officially cancel. The only way to stop the service is to contact your carrier directly.
Scenarios That Require a Call to Your Carrier
Think of this as a quick safety check. If you find yourself in one of these situations, pick up the phone and talk to your provider before you do anything with your primary eSIM.
- Upgrading to a new iPhone: Your carrier has a specific process for moving your number. Don't go rogue—follow their steps.
- Switching to a new provider: Your new carrier will handle porting your number over. Let them guide you.
- Your phone is on a financing plan: The eSIM might be linked to your contract. A quick call can confirm if you're clear to make changes.
With eSIM connections projected to hit a massive 1.5 billion by 2026, knowing how to manage them correctly is becoming a non-negotiable skill for any traveler. You can dive deeper into how eSIM trends are evolving at TechRadar.
Frequently Asked Questions About Deleting eSIMs
We’ve covered a lot of ground, but a few key questions always seem to pop up when it's time to delete an eSIM. Getting these details right is the difference between managing your cellular plans with confidence and a last-minute panic, whether you're at home or halfway across the world.
Let's clear up some of the most common points of confusion.
Can I Get My eSIM Back After Deleting It?
The short answer is no, not really. Deleting an eSIM from your iPhone is a permanent action. Think of it as digitally shredding a physical SIM card—once it's gone from your device, you can't just "undelete" it or restore it from a backup.
If you’ve just deleted an old, expired travel eSIM, that’s no big deal. You were going to get a new one for your next trip anyway.
But if you accidentally remove your primary line from your home carrier, you’ll have to contact them directly. They'll need to issue you a brand-new eSIM profile, which usually means scanning a new QR code or going through their app to get your service running again.
Final Word of Caution: Always treat that "Delete eSIM" button as a final, irreversible step. Take a second to double-check you’re zapping the right plan before you confirm.
Does Deleting an eSIM Cancel My Service Plan?
This is one of the most critical things to understand. Deleting an eSIM profile from your iPhone does not cancel your service agreement or your monthly bill with the carrier.
Your plan is still active on their end, and the charges will keep coming.
For a travel eSIM, this is usually fine—the plan was designed to expire on its own after a set amount of data or time. But for your main cellular contract, simply removing the eSIM from your phone won't stop the bills. You have to contact your provider to formally terminate your account if you no longer want the service.
How Many eSIMs Can My iPhone Store and Use?
Modern iPhones are built for this kind of flexibility, especially the iPhone 13 and newer models. You can store eight or more eSIM profiles right on your device, which is fantastic for anyone who hops between different countries.
But here’s the key part: while you can store a bunch of them, your iPhone can only have two active at the same time.
This dual-eSIM setup is perfect for travel. You can keep your home number active for calls and texts while using a local data eSIM for cheap, fast internet wherever you land.
Ready to find the perfect travel eSIM without the hassle? At eSimGuide.com, we compare plans from over 22 providers to help you connect instantly and affordably, wherever your travels take you. Find your next plan at https://esimguide.com.


